
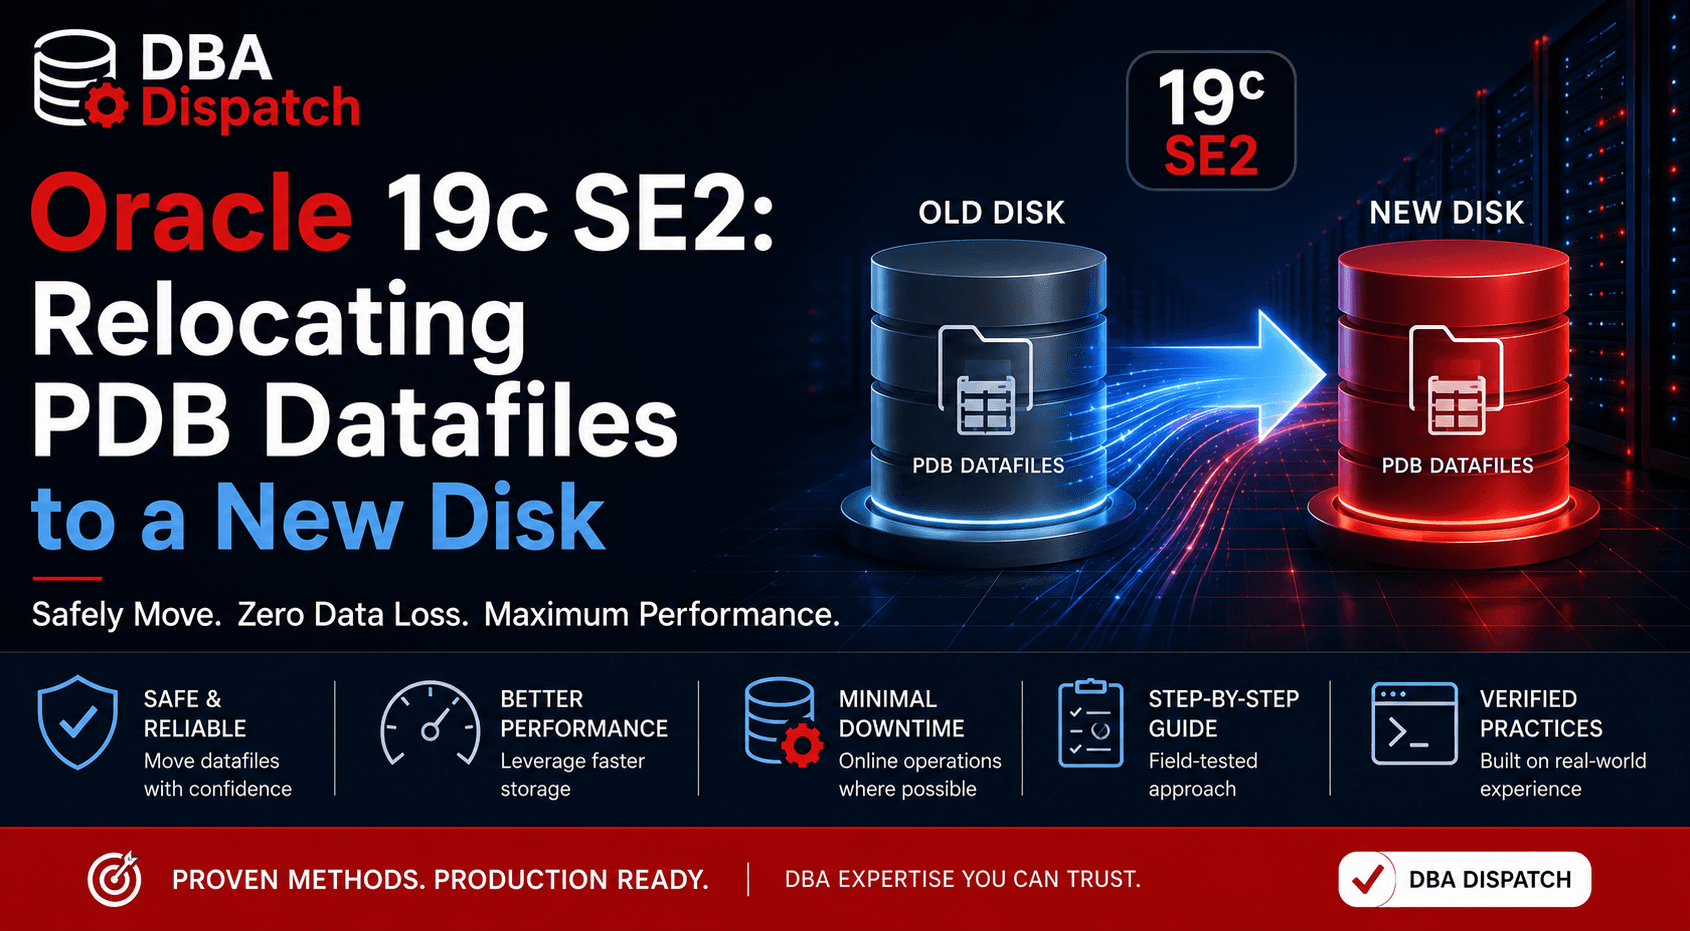
Oracle 19c SE2: Relocating PDB Datafiles to a New Disk
Moving datafiles for a Pluggable Database (PDB) in Oracle 19c Standard Edition 2 doesn't require Enterprise Edition features like online file move. This runbook walks through the safe, offline method with minimal downtime — only the target PDB needs to be closed, not the entire CDB.
Overview
- Database version: Oracle 19c SE2
- Scope: PDB datafiles only (SYSTEM, SYSAUX, and UNDO are not moved)
- Downtime: PDB-only outage
- Method: Copy files offline, rename in controlfile, reopen PDB
Prerequisites
- OS access as
oracleuser - SQL*Plus access as
SYSDBA - Sufficient space on the destination disk
- A scheduled maintenance window is recommended
- Keep source files until a backup completes
Step 1: Verify Current PDB Datafile Locations
Connect to the CDB and switch into the target PDB to confirm which files need to be moved.
sqlplus / as sysdba

ALTER SESSION SET CONTAINER = <your_pdb_name>;

SELECT tablespace_name,
       file_name
FROM dba_data_files
WHERE file_name LIKE '/source_disk/%'
ORDER BY tablespace_name;
Note all file paths returned — these are the files you'll be relocating.
Step 2: Create the Destination Directory
Create the target directory structure on the new disk and set the correct ownership and permissions.
mkdir -p /destination_disk/oradata/<CDB_GUID>/datafile

chown -R oracle:oinstall /destination_disk/oradata
chmod -R 775 /destination_disk/oradata
Replace <CDB_GUID> with the actual GUID directory name from your environment (visible in the source file paths).
Step 3: Close the PDB
The PDB must be closed before copying its datafiles to ensure consistency.
ALTER PLUGGABLE DATABASE <your_pdb_name> CLOSE IMMEDIATE;
Verify the status:
SHOW PDBS;
Expected result: the PDB should show MOUNTED.
Step 4: Copy Datafiles to the New Location
Copy each datafile using cp -p to preserve timestamps and permissions.
cp -p /source_disk/oradata/<CDB_GUID>/datafile/<filename>.dbf \
      /destination_disk/oradata/<CDB_GUID>/datafile/
Repeat for every datafile identified in Step 1.
After copying, verify the files arrived:
ls -ltr /destination_disk/oradata/<CDB_GUID>/datafile/
Step 5: Switch to the CDB Root
All controlfile operations must be done from the CDB root container.
ALTER SESSION SET CONTAINER = CDB$ROOT;
Step 6: Rename Files in the Controlfile
Generate the rename commands dynamically based on what's currently registered:
SELECT
    'ALTER DATABASE RENAME FILE ''' || file_name || ''' TO ''' ||
    REPLACE(file_name, '/source_disk/', '/destination_disk/') || ''';'
FROM cdb_data_files
WHERE con_id = (
    SELECT con_id
    FROM v$pdbs
    WHERE name = '<YOUR_PDB_NAME>'
)
AND file_name LIKE '/source_disk/%'
ORDER BY file_name;
Run each line of the generated output. Each statement will look like:
ALTER DATABASE RENAME FILE
    '/source_disk/oradata/<CDB_GUID>/datafile/<filename>.dbf'
TO
    '/destination_disk/oradata/<CDB_GUID>/datafile/<filename>.dbf';
Execute all rename statements before proceeding.
Step 7: Open the PDB
ALTER PLUGGABLE DATABASE <your_pdb_name> OPEN;
Step 8: Validate New File Locations
Switch into the PDB and confirm all datafiles now point to the new disk.
ALTER SESSION SET CONTAINER = <your_pdb_name>;

SELECT tablespace_name,
       file_name
FROM dba_data_files
WHERE file_name LIKE '/destination_disk/%'
ORDER BY tablespace_name;
All files should now show paths under /destination_disk/.
Step 9: Final Status Check
SHOW PDBS;
Expected result: the PDB should show READ WRITE. If it does, the migration was successful.
Step 10: Remove Old Files (After Validation)
⚠️ Do not remove old files until you have confirmed the PDB is open READ WRITE and a backup of the new location has completed.
If your database uses Oracle Managed Files (OMF), Oracle will automatically remove the old source files once the rename is committed and the PDB is successfully opened — no manual cleanup needed.
If you are not using OMF, remove the old files manually after validation:
rm -f /source_disk/oradata/<CDB_GUID>/datafile/<filename>.dbf
Notes
- This method works with Oracle 19c Standard Edition 2 — no Enterprise Edition license required
- Online datafile move (
ALTER DATABASE MOVE DATAFILE) requires Enterprise Edition and is not used here - Only the target PDB is taken offline; the CDB and other PDBs remain available
- SYSTEM, SYSAUX, and UNDO tablespace files are not covered by this runbook
- Always perform this during a maintenance window
- Retain source files until a full backup of the new location is confirmed
- If using OMF, old files are cleaned up automatically — no manual
rmrequired